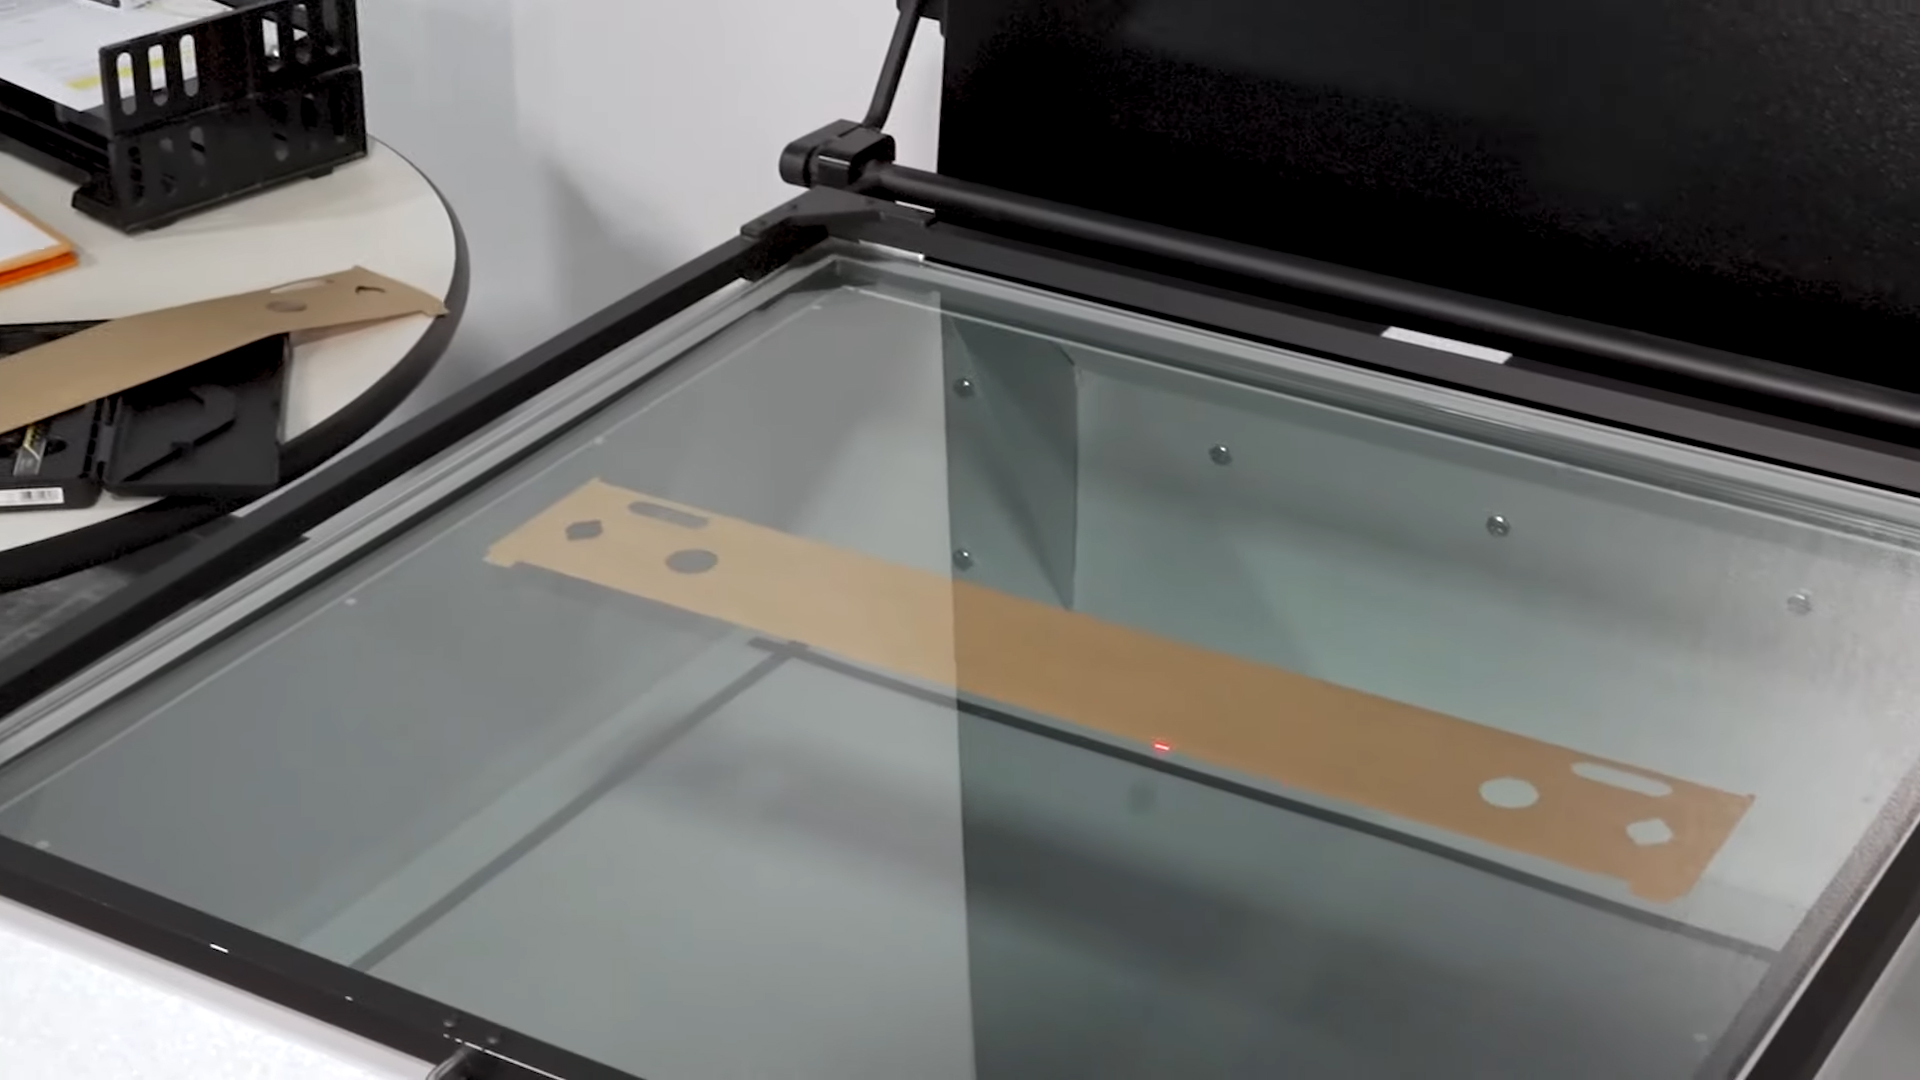


Calibrated Laser Scanning System
To ensure your parts meet specifications, Budnick utilizes laser part scans to quickly identify potential quality issues. At Budnick, the laser scanner is typically used for 1st article, in-process, and final inspections to confirm part dimensions match technical drawings. After loading the dimensions and tolerances of a particular part, the operator will scan the physical part. Then, the software generates a report listing the nominal dimensions, the actual measured dimensions, and lists any deviations. The instantaneous reporting helps us make any necessary adjustments quickly and accurately. Laser scanning is much more accurate on intricate parts and hard to physically measure parts, like soft foams.
Laser scans can also be used to reverse engineer drawings from existing parts. This is especially helpful when customers have an existing part, but no drawing.
To see a slow motion view of the laser scanner, click here.
You can also see it in our corporate video here at the 1:57 mark.
